'How to' Guide: Cement or Concrete Tile Roof
Preparation work
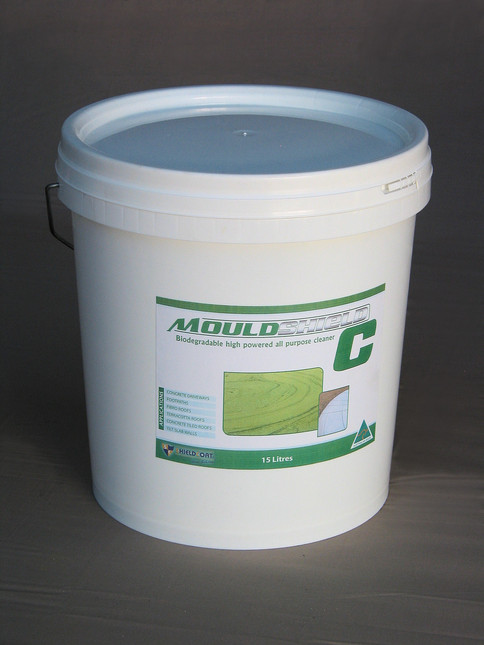
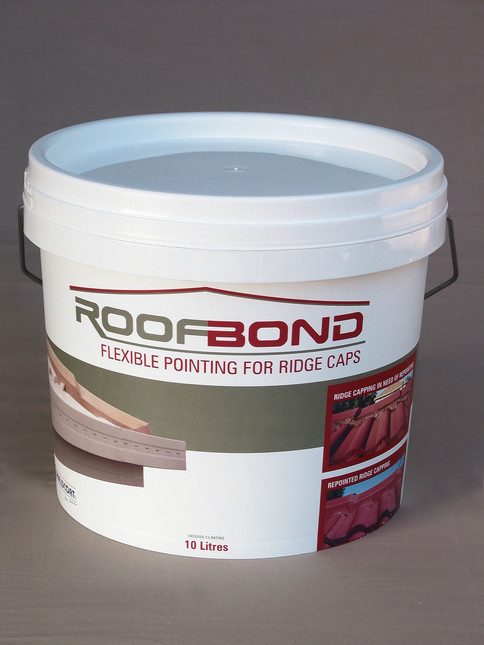
When painting your cement or concrete tiled roof remember that preparation is most important! Before you do any work on your roof you have to remove all down pipes. Then, you will need to apply with a soft broom MOULDSHIELD C diluted 5:1 with water then pressure washer your roof to clean it, preferably pressure washer that has a pressure of at least 3000 psi. While you are up there you need to check that the ridge capping tiles are in good condition, it is most likely that they will need at least to be re pointed with ROOFBOND Flexible Pointing. If some of the ridge caps are loose then you will need to re lay them with a small amount of ROOFBOND Flexible Pointing before you apply the ROOFBOND Flexible Pointing to the sides and joint of the ridge capping. Also check that there are any broken ridge caps or tiles, and replace them with new or second hand ones. Note that they don't have to be the same colour as your existing cement or concrete tiles as you are about to paint them all. Just ensure that they are the same style cement tile as your existing cement tiles as your roof.
When painting your cement or concrete tiled roof remember that preparation is most important!
Preparation coatings
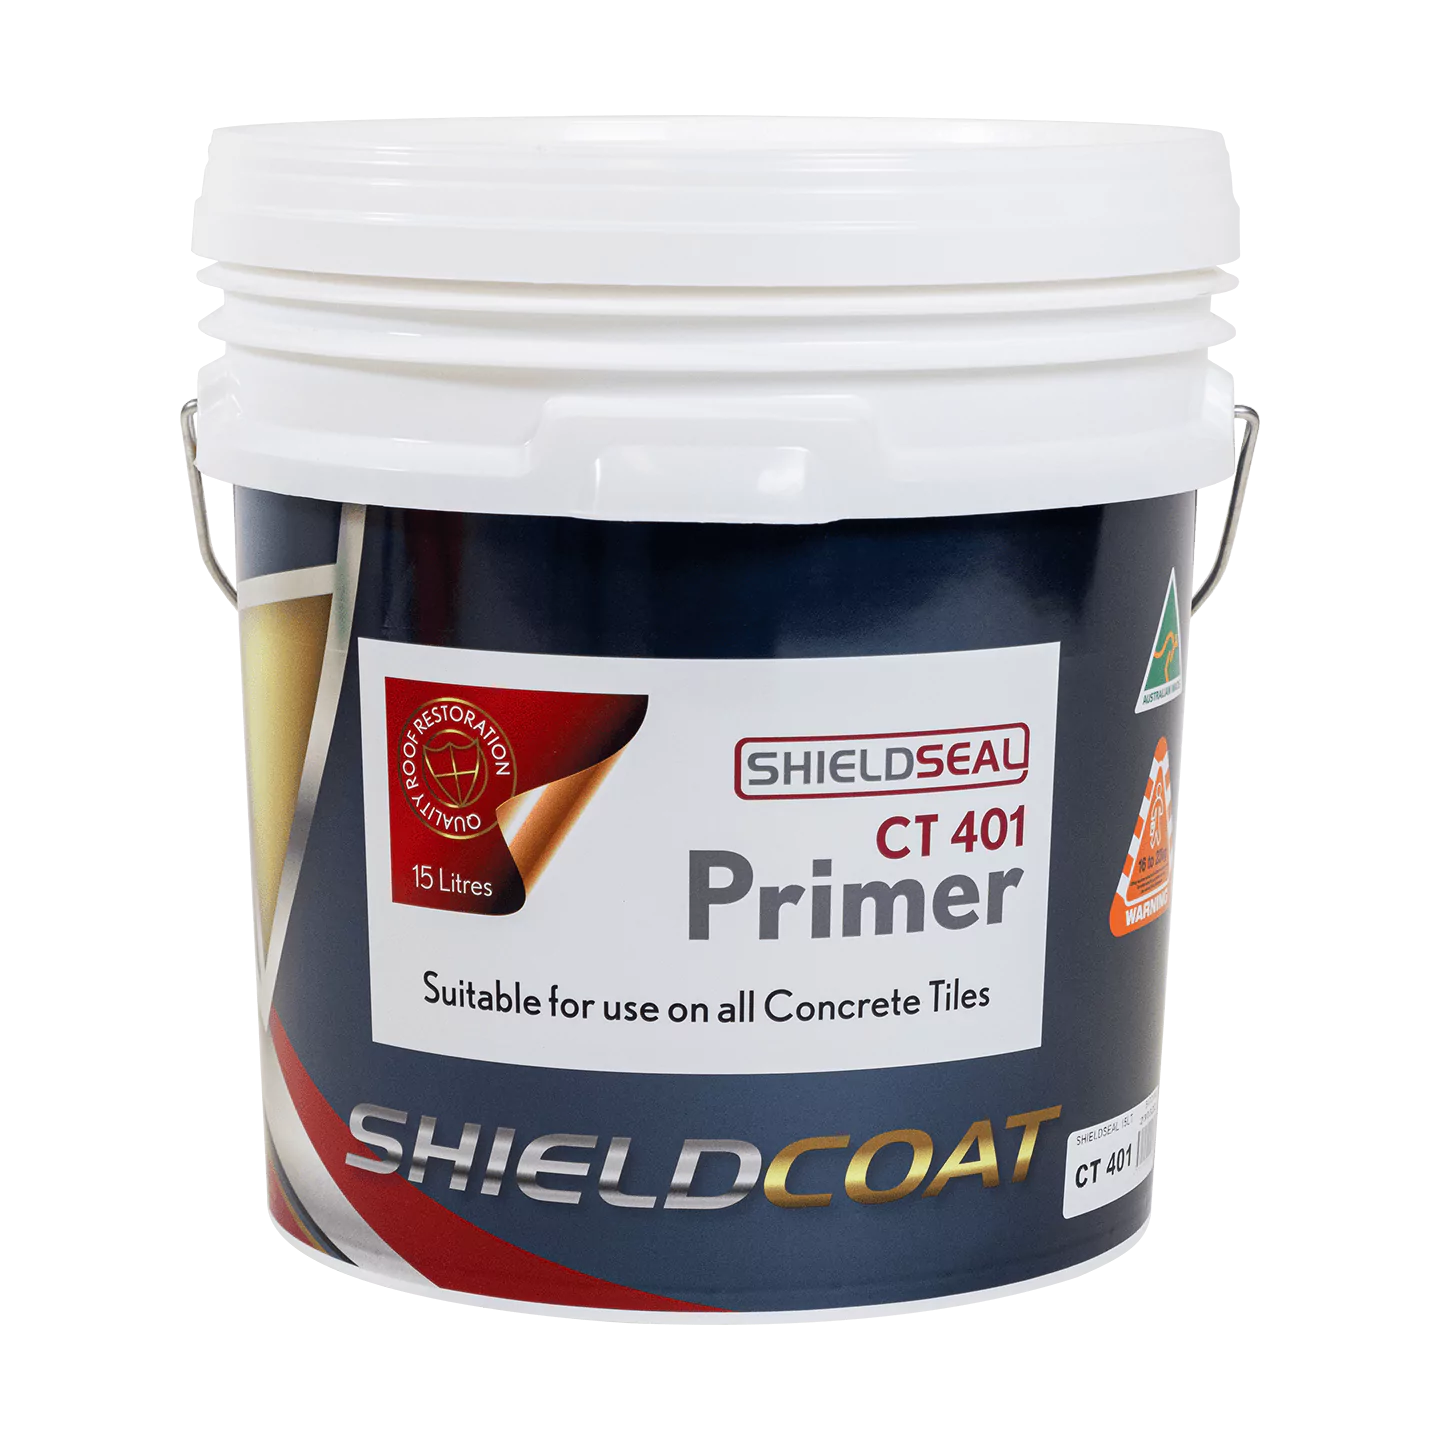
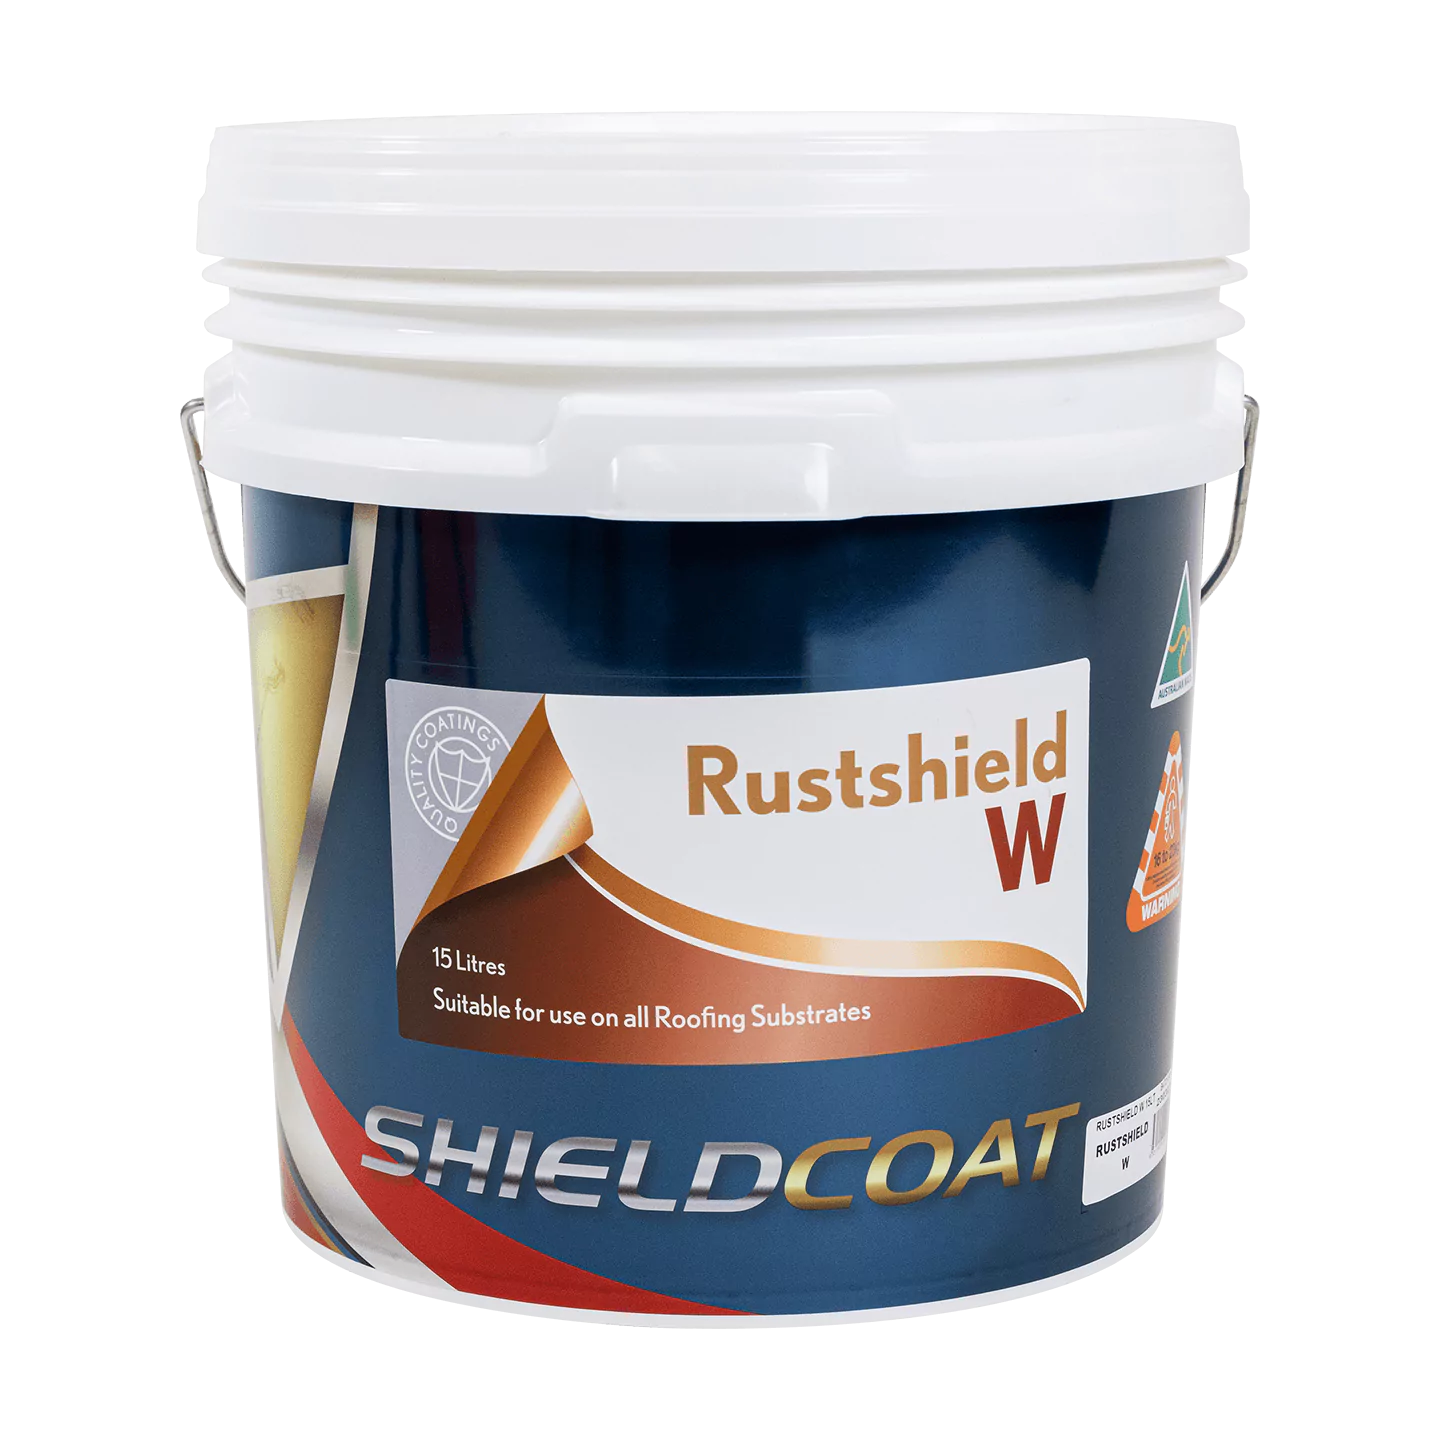
It is important to evaluate the condition of your cement tiled roof at this point before you proceed with purchasing your preparation and finish products to ensure a long lasting durable job on your cement or concrete tiled roof. Check your valleys to see if they are rusty, if they are you will need to wire brush them down and apply a coat of RUSTSHIELD W and allow at least 24 hours to dry before applying your finished coats. Next, you apply a coat of SHIELDSEAL CT401 to seal your cement or concrete tiled roof, allowing at least 4 hours drying time, depending on the weather.
Finish coatings
Then you apply 2 coats of your desired colour of ROOFBOND Roofing Paint to your well prepared cement or concrete tiled roof.
Important Information
Roof safety is often overlook by inexperience tradesmen or DIY. Be very conscience of your safety and wear a respirator when carrying out roof restoration work and it is advisable to have fall arrest equipment (safety harness or scaffolding).
Final word
After 7 days of finishing the job you can re fit the down pipes and the roof is now safe to collect drinking water.
For more job specific guides visit our pages on roof paint, concrete paint and heat reflective paint.
Cement or Concrete Tile Roof F.A.Q.
A: The cement mix is not for re pointing, rather you use the ROOFBOND Flexible Pointing to do the re pointing, as it is flexible which resists cracking and bonds very well to the tiles, so you are not going to have to re point it as often as cement pointing. If the tile is loose then it will need to be re bedded, this is done by removing the loose tiles, then clean off the existing cracked and dry bedding cement of the tiles and ridge cap and re bed it with Ridgerite or a mortar mix of sand and cement 4:1, with 500ml of Concrebond added to every 3 litres of water that you add to the mix. Make the water and Concrebond mix first and then add it slowly until it has a cake mix consistency, you don't want it to be too wet as it needs to hold the tiles weight. Once capping is bedded, cut back the bedding mortar back approximately 2-5 millimetres from the edge to the tile to allow room for the ROOFBOND Flexible Pointing.
Then apply ROOFBOND Flexible Pointing with a pointing trowel (a trowel that looks like a small bricklaying trowel). It is a good idea to have a bucket of water with you when trowelling off the ROOFBOND Flexible Pointing after you have applied it to a ridge cap. Dip your trowel into the bucket regularly, this will allow your trowel to smooth out the ROOFBOND Flexible Pointing and give a nice professional finish. Depending on the weather as to how many ridge caps you can apply the ROOFBOND Flexible Pointing before you have to trowel it off (or smooth it out), before it starts to skin and start to pull. It is advisable to do one ridge cap at a time, that is apply it and then trowel it off (or smooth it out), until you get the feel for the product according to the weather.
Q: What kind of coverage will I get out of 15lts of Mouldshield C on a my roof?
A: It is difficult to give a coverage rate on 15lt of Moulshield c because it can be diluted between 5:1 up to 20:1 depending on strength needed and again how its applied; sprayed, watering can or broom. Generally one 15lt is enough for a 3 bedroom house roof, leaving you with enough left over to do your bit of cleaning around the home.
Related Products
$189.20
Shieldseal CT401 - Helps stop colour fade on cement roof tiles
$308.00
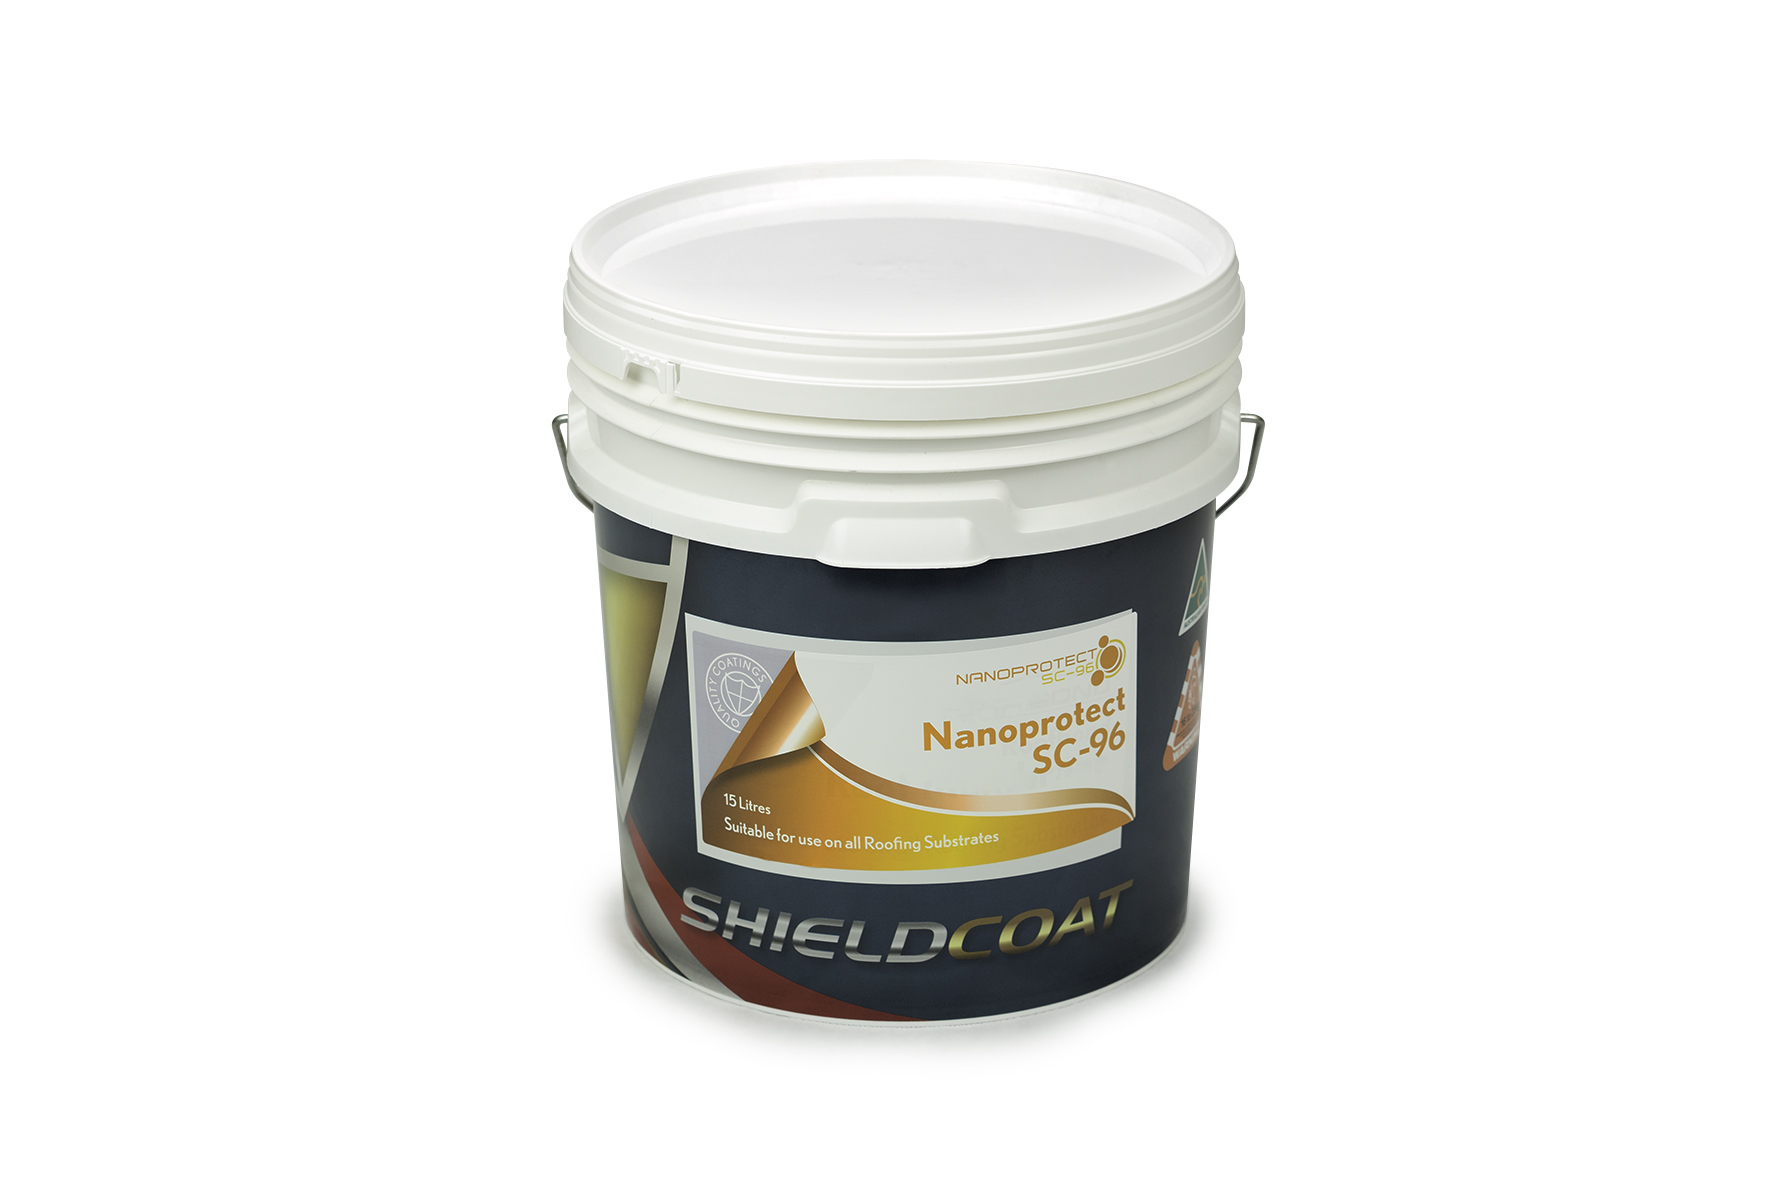
NanoProtect SC-96 Clear Protective Coating
$56.30
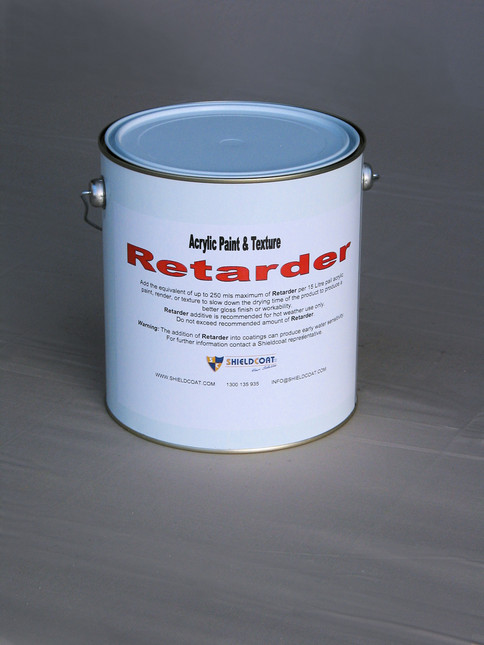
RETARDER - slow down drying times or improve gloss levels
$160.60
MOULDSHIELD C Mould and Grease Cleaner
$308.00
RUSTSHIELD W fast drying acrylic sealer primer
$198.00
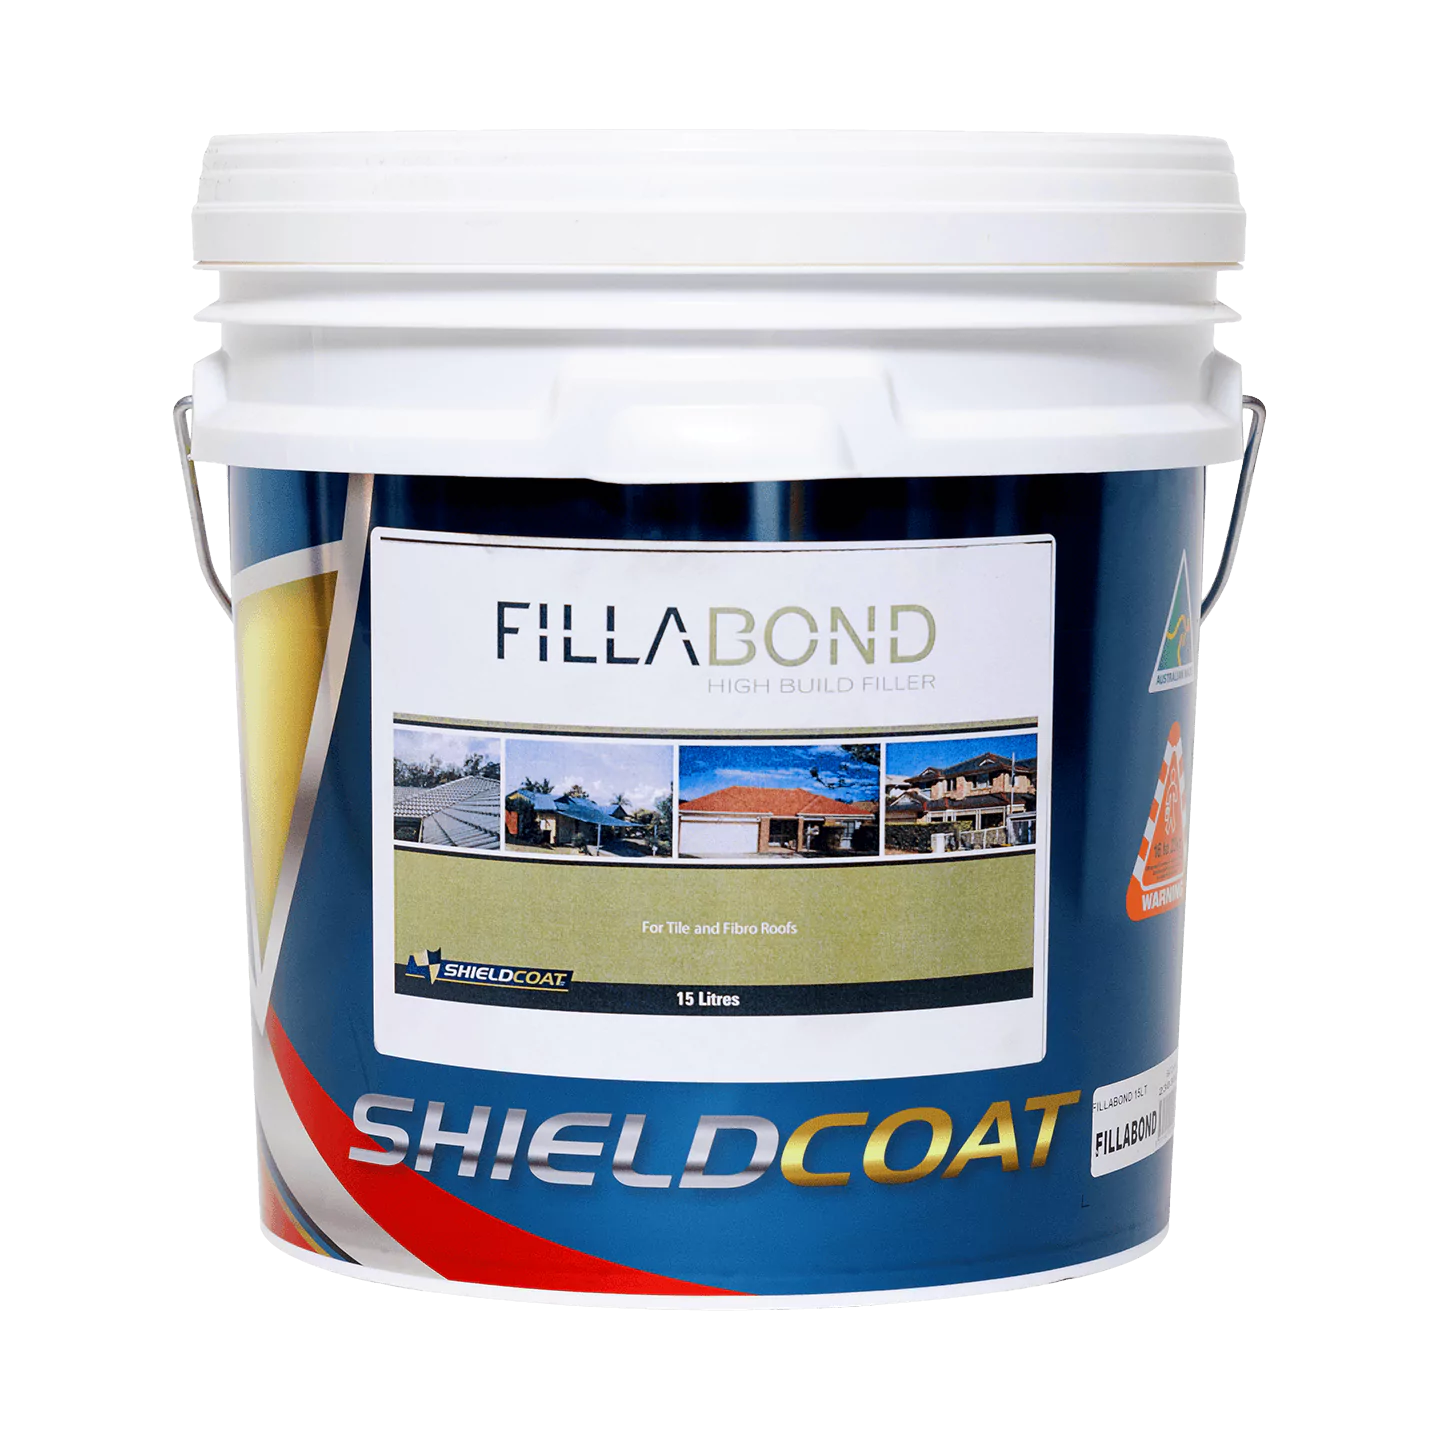
FILLABOND High Build Acrylic Filler
$212.41
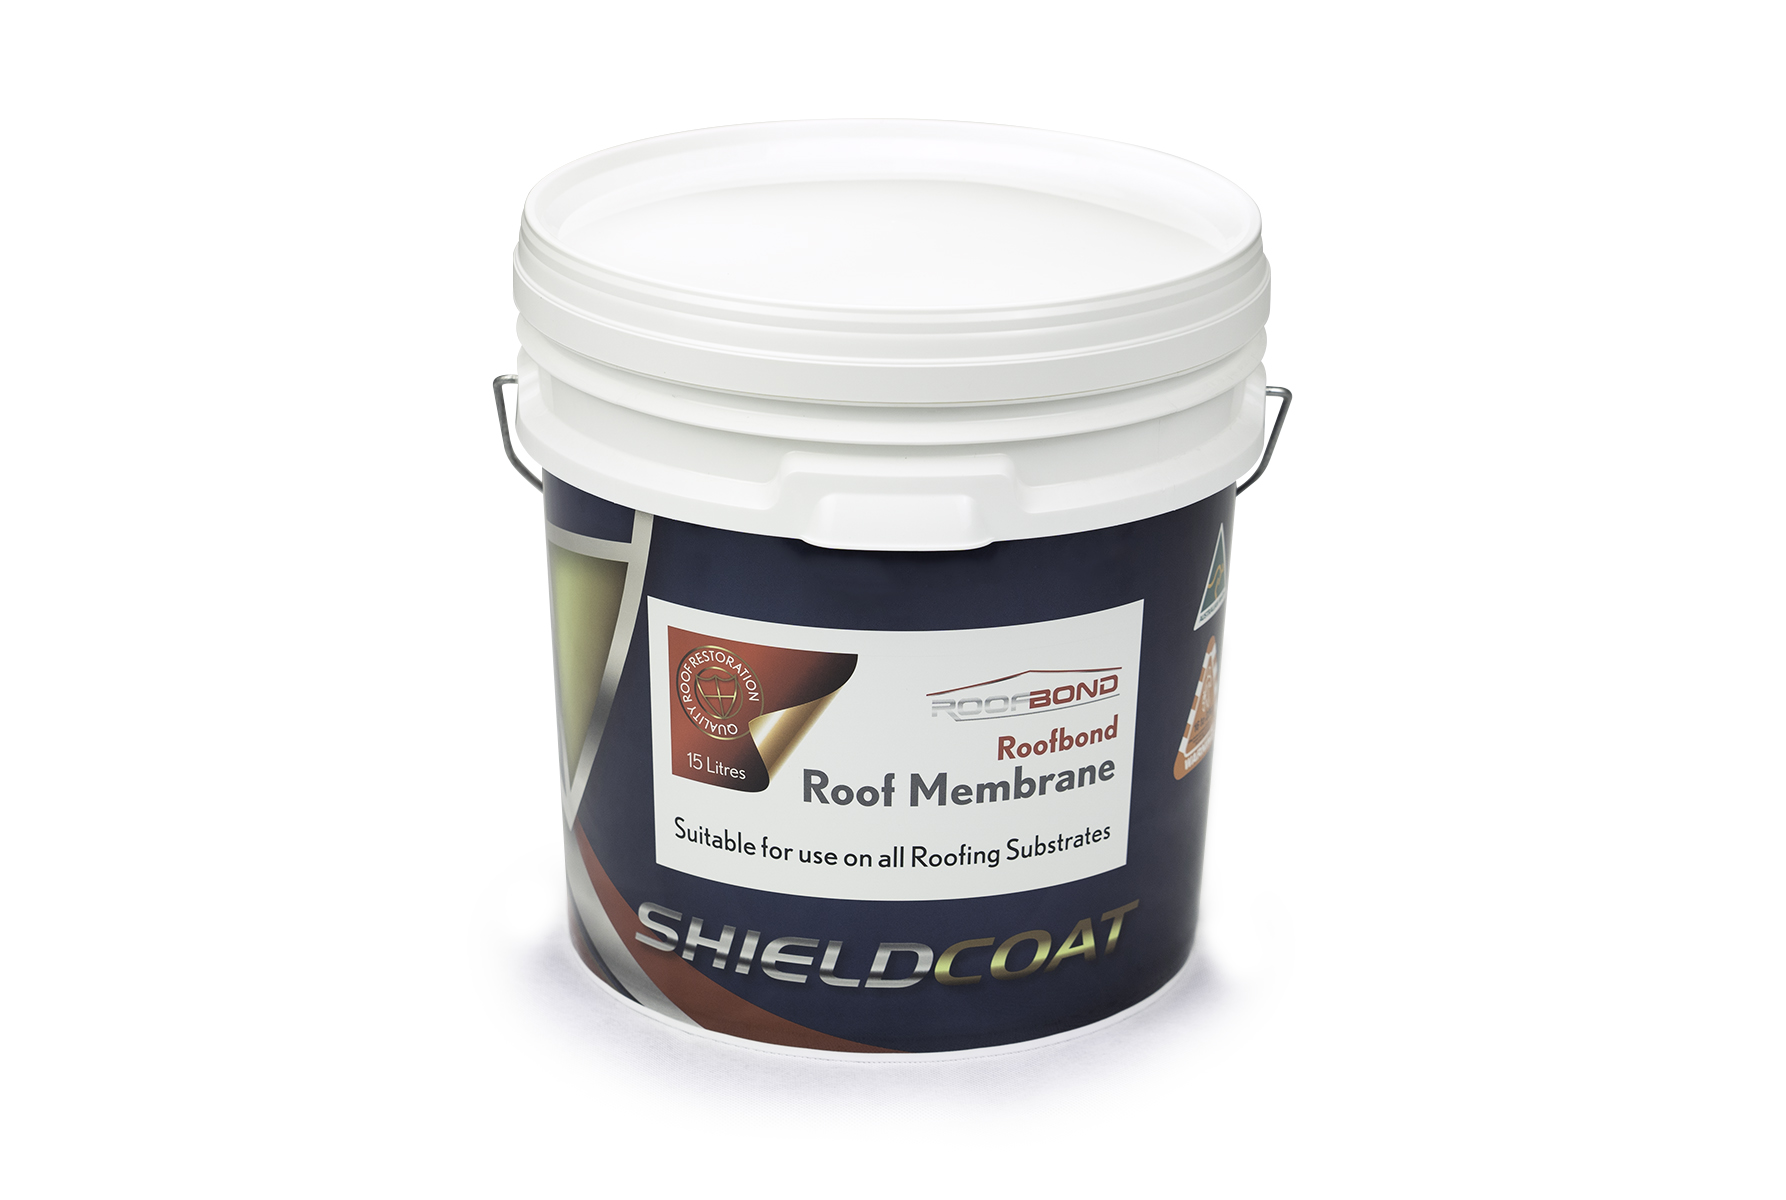
ROOFBOND Roofing paint (Clear Glaze)
$63.80
ROOFBOND Flexible Pointing for ridge capping

$212.41
ROOFBOND Roof Paint (All Colours) - Durable Roofing Paint
$308.00
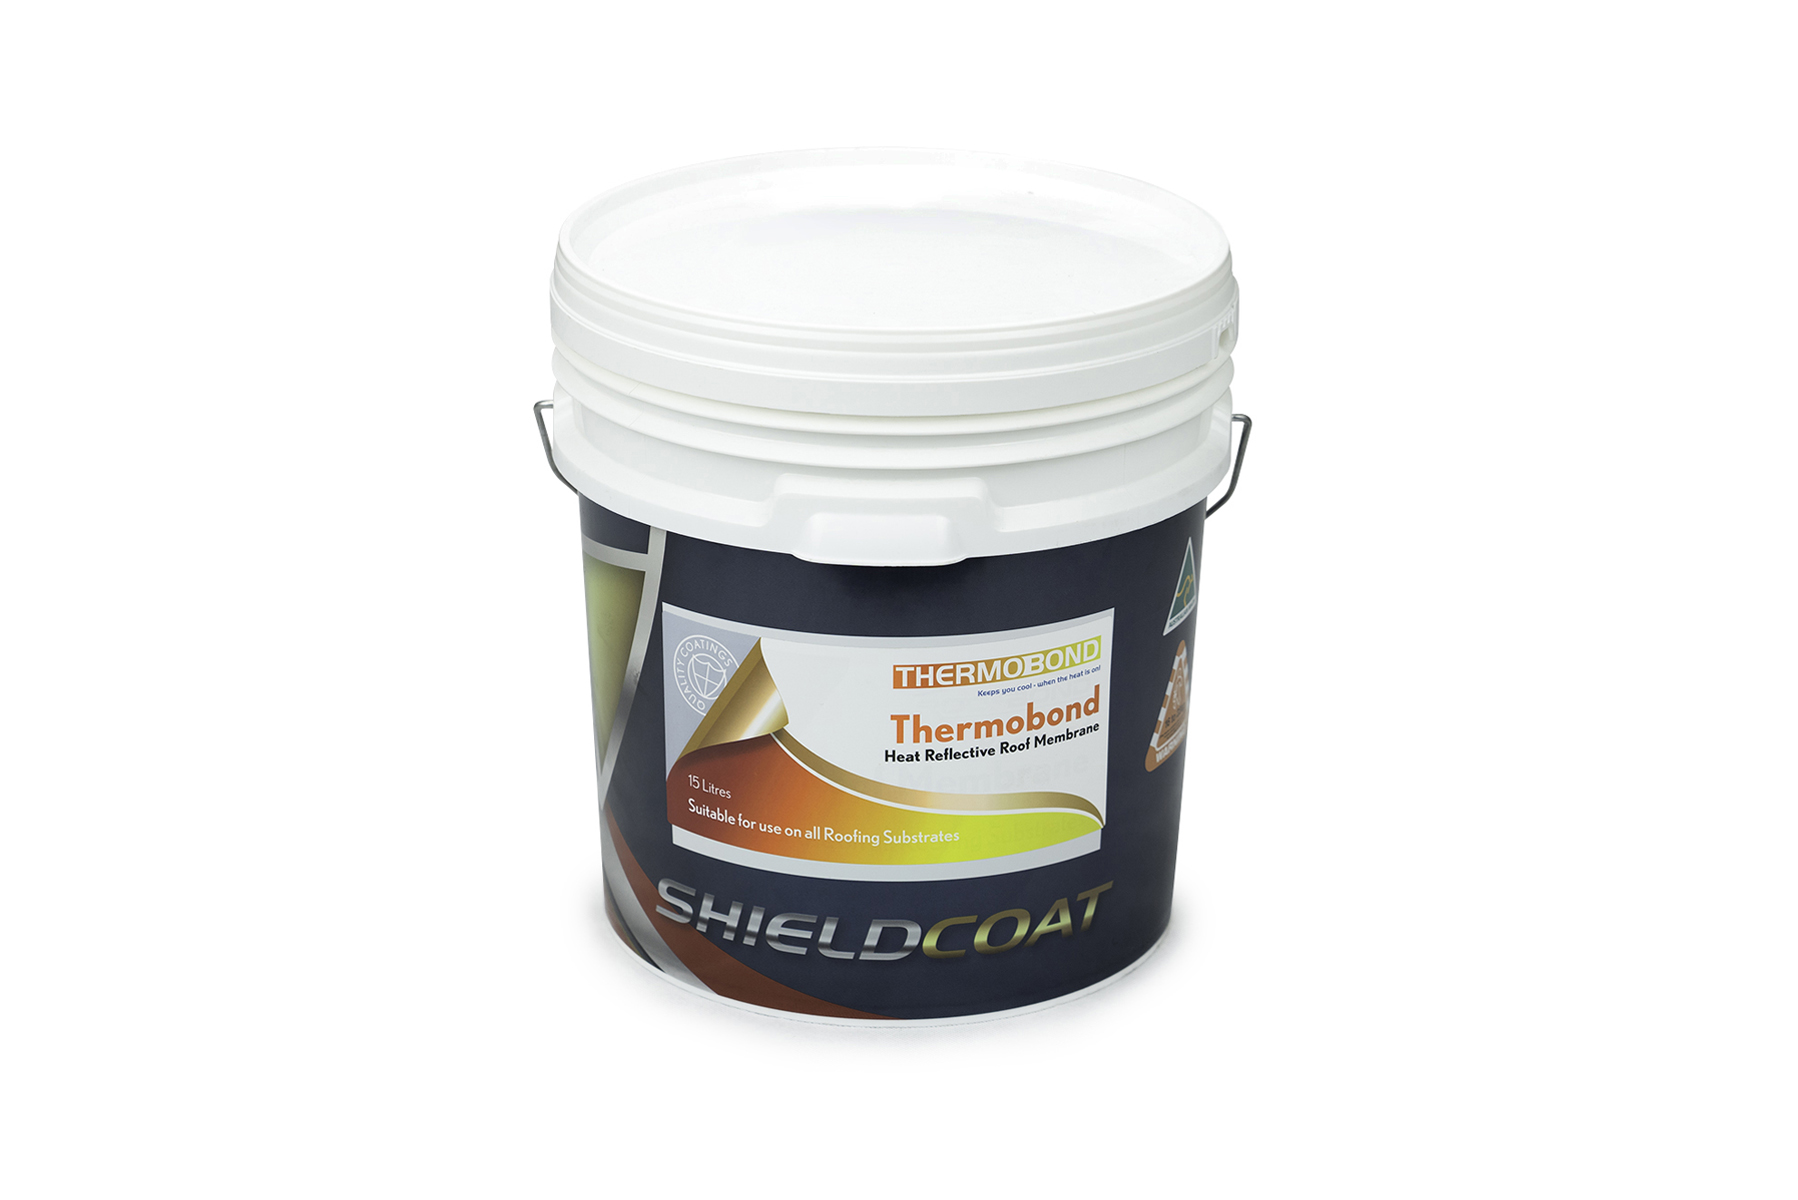
THERMOBOND Heat Reflective Paint